

I love Photoshop, and am always learning new and better ways to do things in it. For years I've fixed red eye in photos in dozens of different ways. Sometimes I've even chosen to leave it because I thought the photo looked cute enough with it, and it was so bad I didn't think it would look natural if I messed with it. So not too long ago I just happened to do it in a way that worked so well, looked so natural, and seemed super easy compared to some other methods I've used in the past. So I thought I'd record it for myself and share it for other Photoshop users who may not have a red-eye technique.
 |
| (Click to view larger) |
- Select the red area with your circle selector right around the pupil (Cut off part of the circle with your polygonal lasso tool if your eyelid intersects the pupil.)
- Go to Image > Adjustments > Replace Color
- Sample select the red area and adjust the hue: down to the left until it's the darkest blue verging on purple for blue eyes*
- Bring down the saturation a little bit - like about -50
- Bring down the lightness a little bit like -50 or a little more until it's just starting to look black with a red ring around it. Those are not exact numbers - you should eyeball it to match the eyes and not be too dark black, but so far it's always pretty close to that for me.
- Select > Modify and Expand your circle selection areas 1 to 2 pixels to include any red that may have extended beyond the pupil.
- Image > Adjustments > Selective Color
- Reduce magenta all the way (-100)
- Reduce yellow almost all the way - eyeball it for how much yellow is in your photo.
- Then pump up the Cyan and Black until it looks more like your little blue eyes.
- Repeat last 4 steps if there is still a lot of red.
Deselect and check it out. Adjust if needed, but otherwise you're done! You can throw a photo filter over the entire image if the colors didn't quite harmonize.
*I tried the same technique for brown eyes - on step 3 adjust the hue up to the right to the best brown likeness you can get (it may be sort of mustardy yellow just as close to brown as you can get) then if you need to extend your circle and use Selective Color play with it until the glaring red tones down to match your brown.
*I tried the same technique for brown eyes - on step 3 adjust the hue up to the right to the best brown likeness you can get (it may be sort of mustardy yellow just as close to brown as you can get) then if you need to extend your circle and use Selective Color play with it until the glaring red tones down to match your brown.
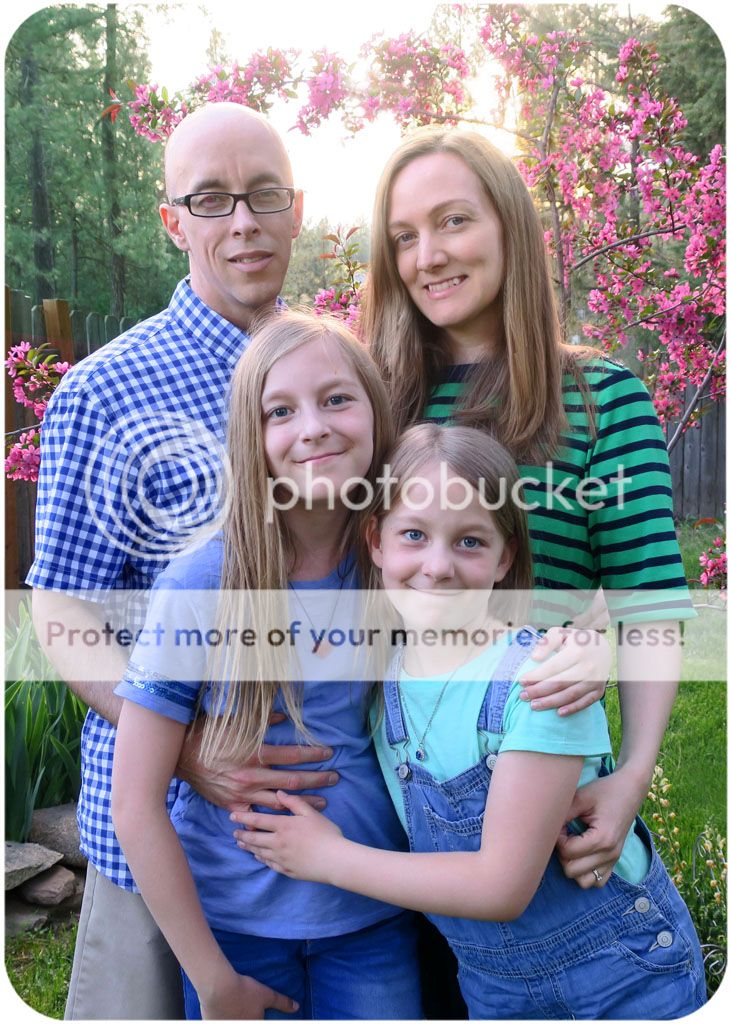
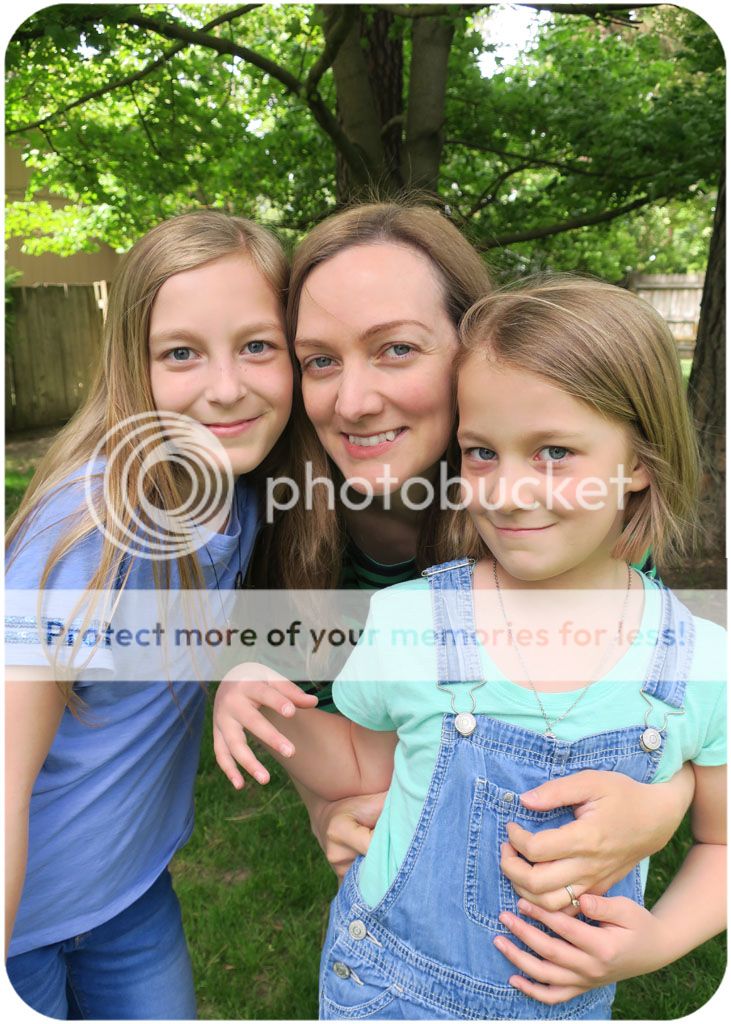
Here's another sample (that was originally just as bad as the photo above) after the red-eye is fixed.


No comments:
Post a Comment